


critical apprasial
I wanted my work to resemble a striking display, deconstructing, re-cutting and completely transforming people’s perception of second-hand clothing or recyclable material, and create ethical fashion with a sense of right and wrong?
I think throughout my project, my chosen references relate to my project, as my self and designers have portrayed environmentally conscious trends in fashion. We have tried to explain the global and personal benefits of adopting these practices, and have demonstrated ways in which individuals, can make conscious changes in their wardrobe choices and reduce their environmental impact of “waste couture” on our planet.
To create this look I used a canon 500 with a standard lens and shot with RAW, as I thought it would make the model in the photo appear in perspective, similar to the original scene. Throughout my shoot and developments, I
experimented with numerous camera angles but mainly used an eye level type of angle, which was positioned as though, it is a human observing the scene.
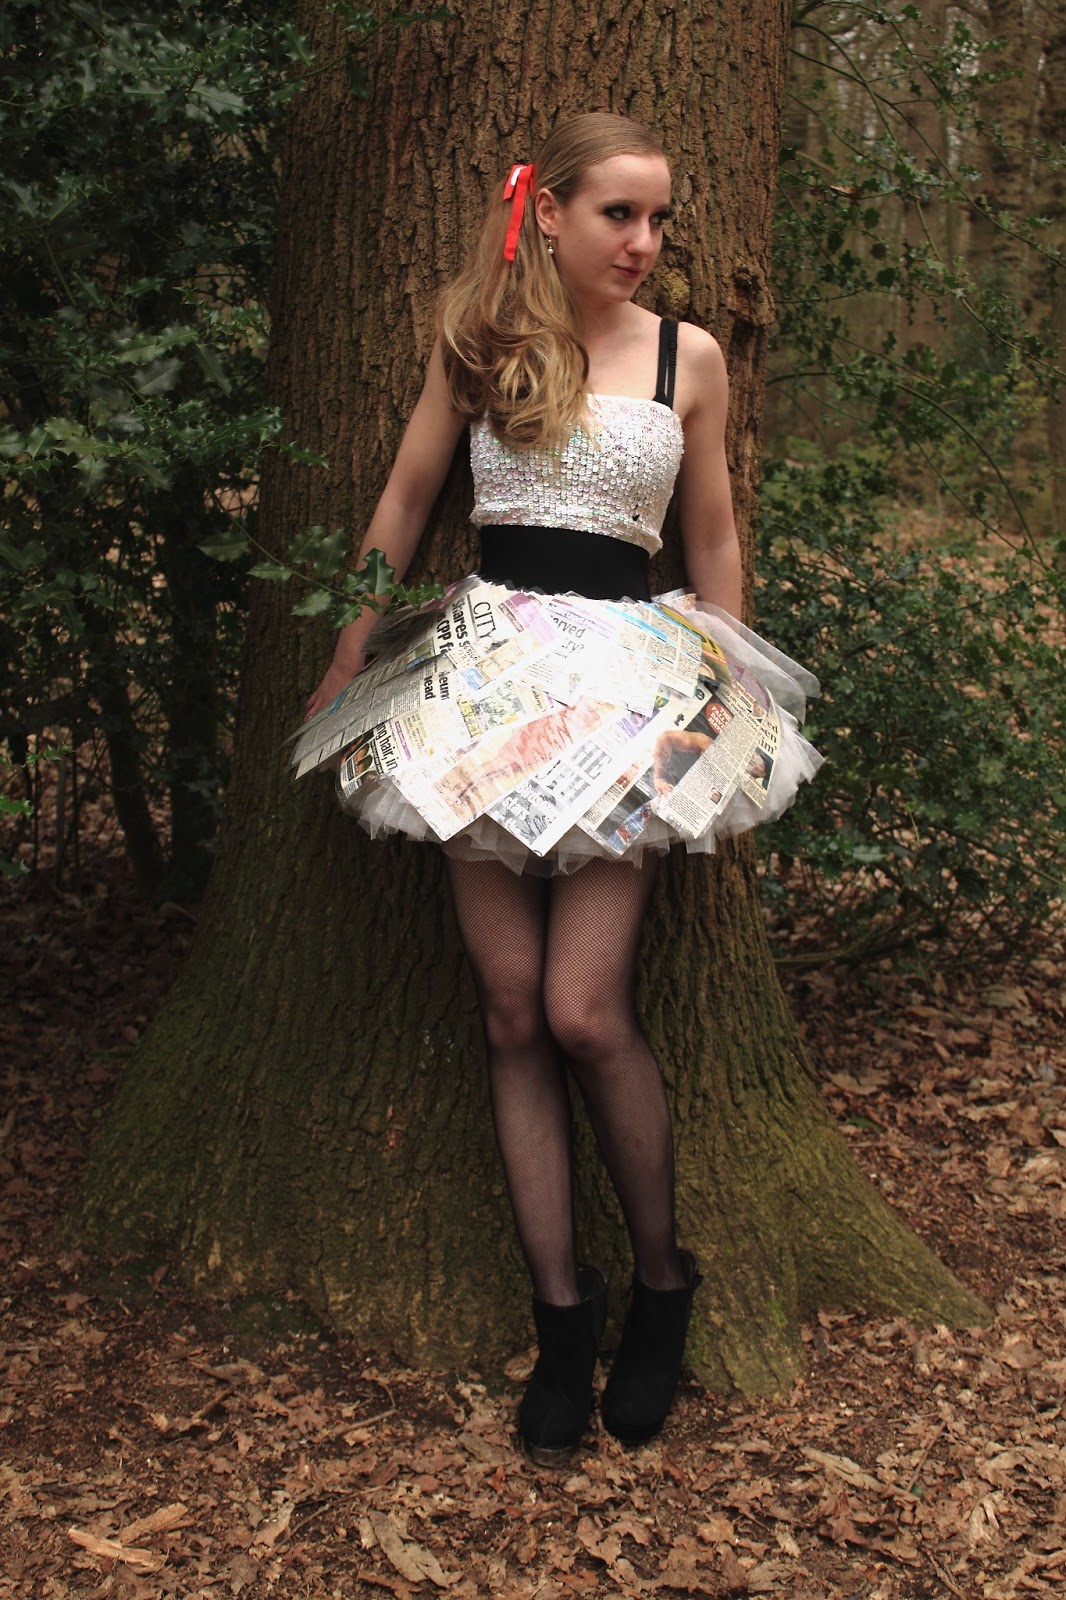
As I decided to shoot on location I was debating whether to hire some lights or to use natural light. In the end I chose natural light as the day on which I was shooting appeared to be clear and nice. During the shoot day there was some Direct intense light, which in some shots appeared quite harsh. When looking back I think the harsh light intensified the contrast between the light and shadows which looked very unflattering. When i took the pictures in harsh sunlight the model often ended up with shadowy eye sockets which I thought made her look tired.
Due to the sun appearing, I tried looking for some cover. As I know from previous shooting, shade can act as a great diffuser, so therefore I tried to photograph my subject under shade or by a tree. I did this, as I thought any specks of bright sunlight shining on them could detract from the look of the picture.
As I shot over two days, luckily the second day was slightly overcast which was good for shooting with natural light, as the cloud cover acted as a natural diffuser. Even shooting on an overcast day meant I still found myself in need of a fill flash to help my subject’s features stand out in the picture.
As I only had a flash on the canon I slightly edited the images to make them appear clearer and portray a golden tint.
As the first day was sunny, naturally I assumed that the best way to position my subject was with the sunlight shining directly into her face to light up her features. But this wasn't the best choice. After looking at some test shots I realized, looking towards the sun made her squint. It also caused shadows around the eyes that made her look tired. Luckily they where test shots. So when experimenting with areas to shoot I tried positioning my subject with the sun behind her. The back light provided, gave nice highlights around the hair. With the sun behind her, I wanted to use a reflector or a fill flash to fill in the shadows and light up the face for the picture. As I had none of this equipment placed her with the sun to the side and slightly behind her, I also was able to edit slightly as well.
Editing prints
I decided to use this software to edit my canon RAW (CR2) files.
The basic editing tools I used was brightness, white balance and picture style adjustments also used the adjustments for contrast, saturation and sharpness. I also experimented with the noise reduction tool which has separate settings for luminance and chrominance noise. I also used the lens aberration tool, which was used for correcting the effects of the lens imperfections like peripheral illumination, distortion and chromatic aberration. Luckily the Aberration tool only works with RAW files that were taken with compatible cameras and lenses. So I was able to use this function.


No comments:
Post a Comment